Setting fence posts is an important part of any backyard landscape. Not only do they make the area more attractive, but they also provide a safe boundary for your property. But in order to ensure that your fence posts stay firmly in place and withstand the test of time, you need to use the right materials. Concrete has long been the material of choice when it comes to setting fence posts, but with so many different types available, how do you know which one is best? In this blog post, we will explore the different types of concrete and which one is most suitable for setting fence posts.
Different types of materials you can use to set your posts
There are plenty of options when it comes to concrete and other materials for setting your fence posts. The 2 most commonly used products we like to use is Quikrete Fast Setting Fence and Post or Sika Fast Setting Polyurethane resin. Both of these options will provide you with a sturdy fence.
How to set your Fence Posts with Quikrete
Step 1
Dig post hole to the proper diameter.
Step 2
Add about 6 inches of QUIKRETE All-Purpose Gravel into the bottom of the hole. Then compact and level the gravel using a post or 2×4.
Step 3
Set the post into the hole and attach 2×4 braces to adjacent sides of the post.
Step 4
Use a level to position the post perfectly vertical.
Step 5
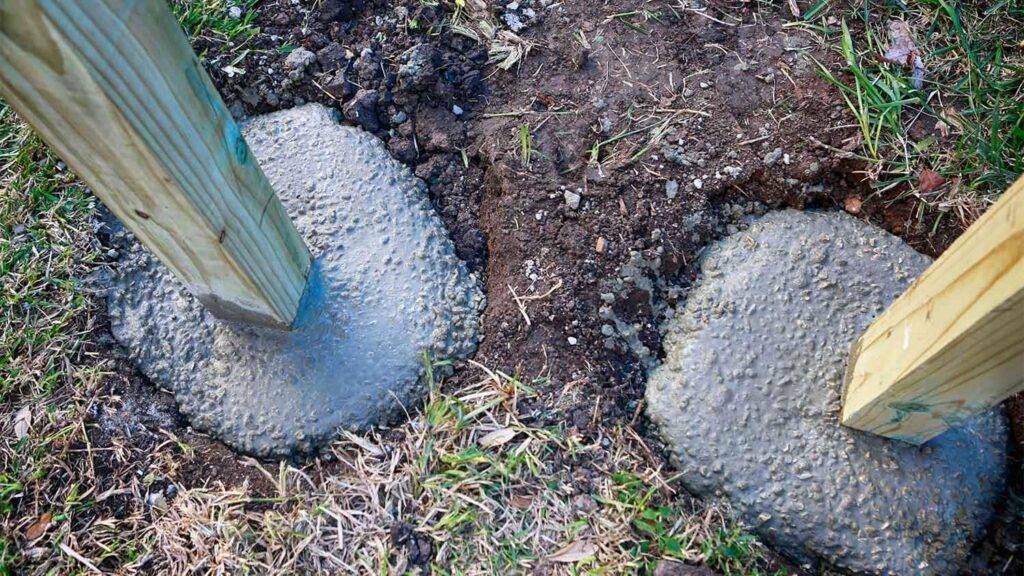
Fill the hole with Fast-Setting Concrete up to 3 to 4 inches below ground level.
Step 6
Pour about a gallon of water per 50 lb bag into the hole and allow the water to saturate the concrete mix.
NOTE: mix will set hard in 20 to 40 minutes
Step 7
Wait about 4 hours to begin constructing your fence or applying heavy weight to your post.
How to set your Fence Posts with Sika
Wear safety glasses and gloves. Roll the pouch (in direction of arrows) toward the central burst seal until it ruptures and allow materials to combine.
Step 3
Mix thoroughly by rubbing the bag along any 90 degree surface (no sharp edges that would
puncture the bag) for 15 SECONDS by forcing material to travel in the bag from one end to the other.
Step 4
IMMEDIATELY after mixing, cut one of the bag’s corners and pour the mixed material evenly around the post (wetting the post) and into the hole before expansion starts.
Step 5
Adjust the post if necessary for up to 10 seconds. Do not move the post until material has firmed up. Hardening will be achieved in approximately 3 minutes; thereafter, the post may be left unsupported. Allow approximately 2 hours for the product to set completely before installing the fence, gate or any other accessory on the post.
Step 6
Remove excess material from surfaces immediately using either a solvent-based
cleaner or clean cloth to remove splatters of uncured material from the post’s surface


